
On our busy days, it’s impossible to inspect brake and brake fluid every day, though we need to check if it is working properly at least twice a week to reduce our life risk.
1. Clean the brake
As a rider, the very first thing you have to do is always try to keep your brakes clean. If dust and mud are gathered on the brake pads, rotors, and calipers it will cause rust. That means more friction and the brake pad will not last so long. The breaking experience will be inferior and cost you more money. Clean brakes with a cleaning kit or use any microfiber cloth.
2. For ABS braking systems
first, you need to check the reservoir tank and make sure it’s clean.
Then look after your brake fluid that should contain enough fluid. Fluid containers come with minimum and maximum indicators on its body. Refill when it’s insufficient. Causes of low quality and insufficient fluid you might face some breaking issues and brakes can wear out earlier. The best way to check brake fluid is to recognize the color If it’s gone bad it will look darker and use a fluid tester.
Look to the master cylinder and brake line if there are any leaks or damage.
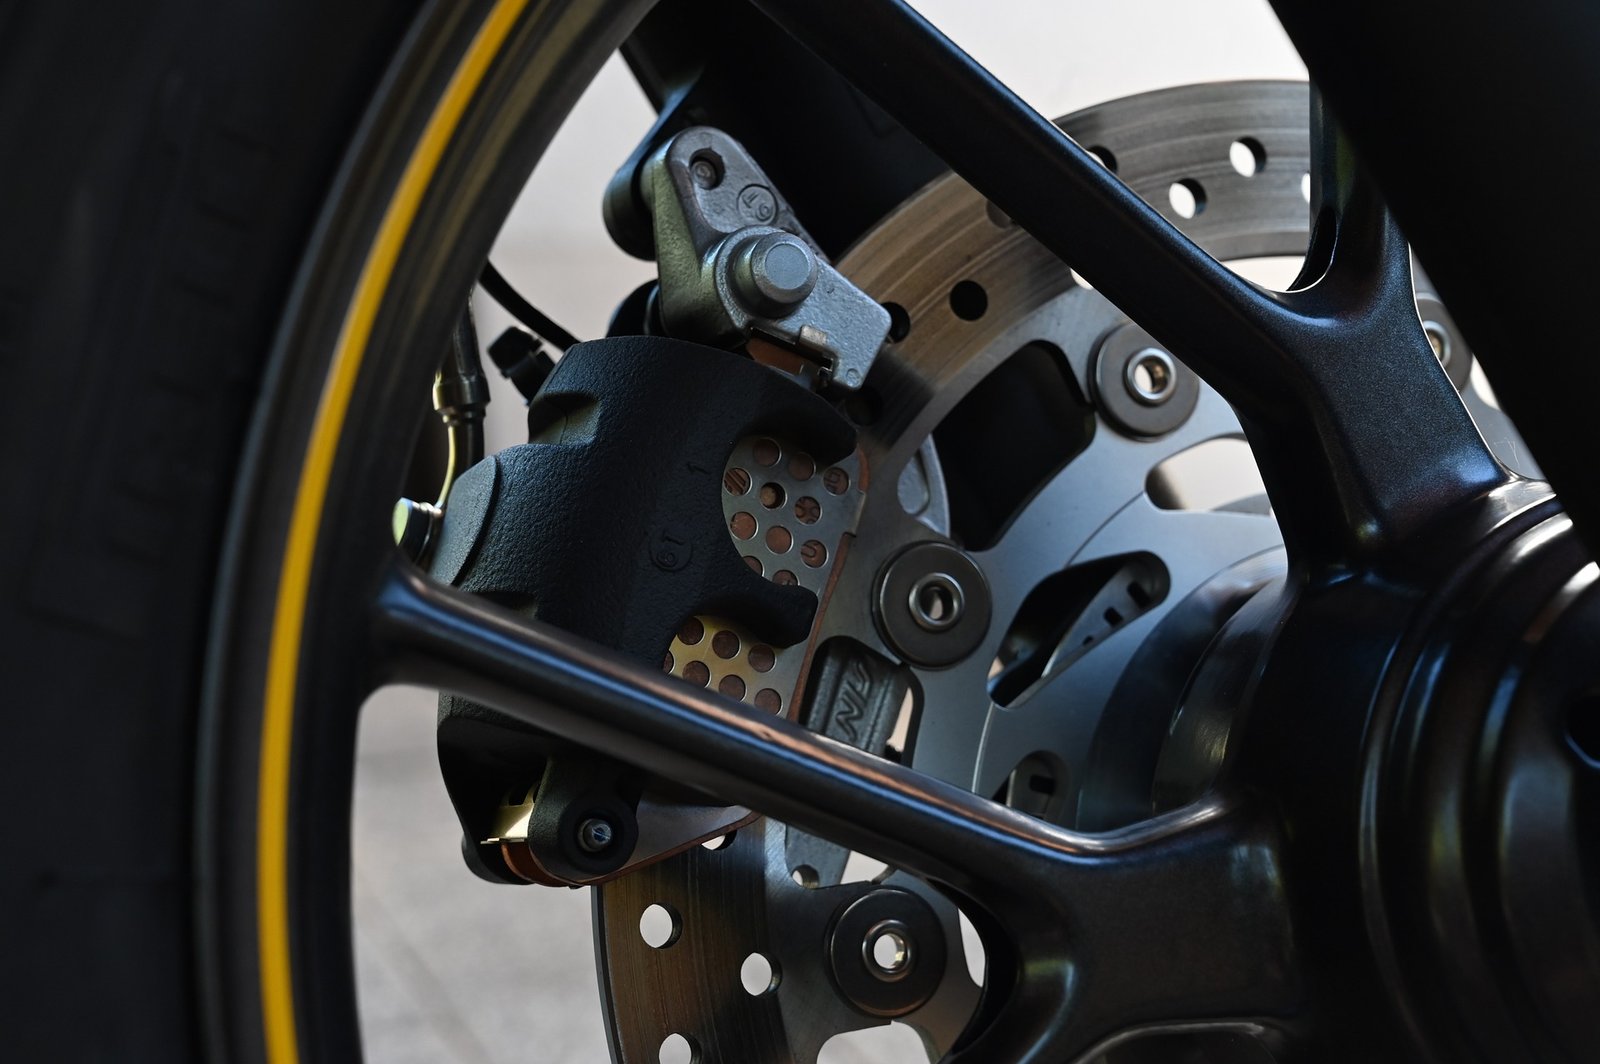
Check the brake pads. Take a closer look at whether the pads are worn out or not. You should have noticed when you press the brake how much time the brake pad requires to engage and stop your motorcycle. When you press the brake lever if any kind of uneven braking or grabbing and unusual sounds or such kinds of issues are coming from brake components it indicates that it’s time to change your brake pads because they already have passed their service time or you can go for a mechanic to identify the problem. There is one more way to inspect your brake, you can speed up your bike a little bit press the brake lever all of a sudden, and take a look at the tire. If the tire skids your abs are not working properly.
3. For the Drum braking system
if brake cables are not adjusted well, cables are damaged and stretched. Make sure the cable is playing free inside its housing. When you press the brake lever or pedal, notice where the first resistance brake engagement felt. Observe the brake drum for any kind of issues or damage. For all motorcycles whose brake cables are adjusted with the knurled lock age of the brake lever, inspect that cable and make sure that cable is well attached to the Knurled lock. Some motorcycles come with brake pad indicators. Press the brake lever as far as possible and see if the indicator exceeds the wear-out marking or not. The pad can be removed for inspection. Make sure that the cable is well aligned to the drum and at the edge of the cable with the adjuster bolt near the brake cam. At last check with the brake lever. Pressing the lever if it is playing free and response or activation of brake is on the line.