
As the ambient temperature rises the latent desire to take the freedom of the open road once again grows in our mind day by day. We eagerly waited and counted days to get our motorcycle back on the road again. Before starting the engine it is crucial to prepare your motorcycle properly after a long winter storage. There are some necessary steps to follow for a safe, smooth, and efficient ride.
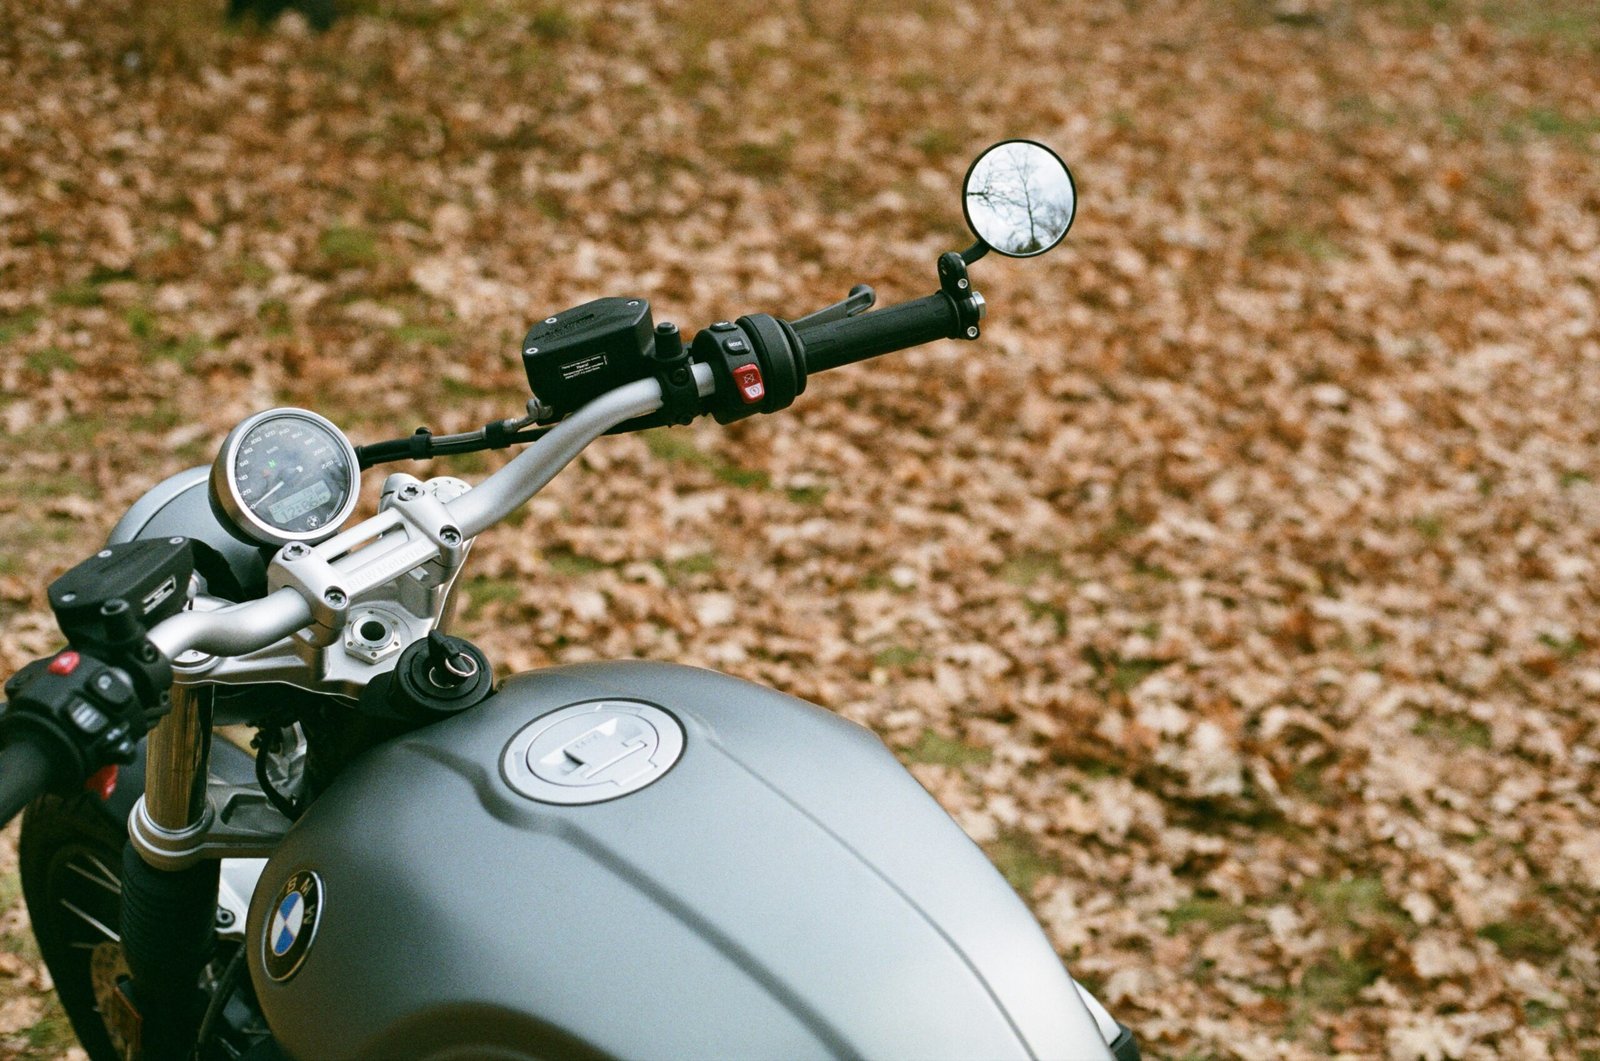
1. Inspect your motorcycle
Before hitting the road, inspect your motorcycle thoroughly. During storage rust, corrosion or any kind of damage or leakage may have occurred. Visually inspect the overall condition thoroughly of your motorcycle. Observe the cables of your motorcycle for any kind of damage. Examine the wheel for any damage or warping.
2. Check the battery
The chances are very high if you do not properly maintain your motorcycle battery during the storage period. The battery might get discharged or even deteriorate if you have taken the necessary steps you were supposed to take. Check the battery terminals for any corrosion. If needed, clean the corrosion with baking soda and water. For maintaining the battery charge if you have used a battery tender it’s fine otherwise use a trickle charger to charge the battery. For nonshield batteries check out the distilled water level and if needed fill up the space with distilled water. Then charge the battery.
3. Check fluids
Check all the fluids of your motorcycle very carefully otherwise, it may interrupt smooth riding. When you get your motorcycle ready to hit the road again at the end of the winter, the first thing you should do is change the motorcycle engine oil. Engine oil becomes poisonous due to prolonged unused. You don’t need to change fuel, or coolant until you are facing any fluids-related issues. Change the coolant when it is unable to cool the engine or when the coolant is responsible for overheating the engine. Check the brake fluid color if it is dark, or cloudy and the brake feels spongy it must be changed.
4. Brakes
The brakes are the most important part of your checklist. Inspect the brakes thoroughly to find any errors. Check well for any damages or wear to the brake cables. Look carefully at the brake disk for any sign of warping or excessive wear. Pull the brake lever by slightly pushing your motorcycle forward and notice the brake response if it feels spongy, unusual sounds are coming, or having any difficulties then fix the problem or change brake particles as per requirements. Many times it can be seen that if the motorcycle is left for a long time, the brake pads get damaged and they come out loose when you touch them. Be more careful when checking the brakes.
5. Chain
Check the chain of your motorcycle and make sure that it is in the right tension, meaning not too loose and tight. Clean your chain and sprocket from all the dirt or grime. Lubricate the chain to follow the proper way to ensure a smooth operation.
6. Tires
inflate the tires to the correct amount and check the tire pressure with a pressure gauge no matter if you do or do not deflate your tires during winter storage. If the motorcycle is not used for a long time and left in the same place, the air in the tires is automatically reduced. After adequately inflating the motorcycle wheels inspect deeply your motorcycle tires for cracks or other damages.
7. Electrical components
Check all the electrical chambers, wires, lights, and horns are on point. After reconnecting the battery to the motorcycle check if the headlight, indicators, tail light, and horn are working properly. Check carefully all the cables and fix them if any wires are torn or damaged.
After checking all of the above-mentioned steps you are ready to go for a test ride. After having a test ride if you feel anything to change, change them as per requirements. We all are not professional so simply we don’t understand all the problems. I recommend taking your motorcycle to a professional mechanic who can identify and solve the errors better.